⚠️ 1분 코딩님의 강의를 바탕으로 작성한 글입니다.
Material

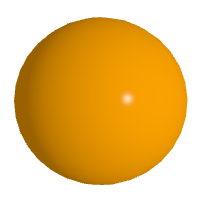
MeshLamberMaterial
const material = new THREE.MeshLambertMaterial({
    color: 'orange'
});
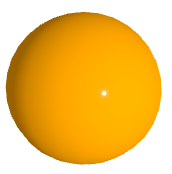
MeshPhongMaterial
const material = new THREE.MeshPhongMaterial({
    color: 'orange',
    shininess: 1000
});
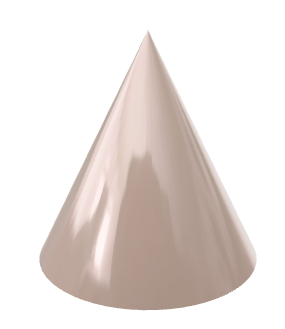
MeshStandardMaterial
const material2 = new THREE.MeshStandardMaterial({
    color: 'orange',
    roughness: 0, // 거칠기
    metalness: 0.5, // 금속성
    // flatShading: true // 각지게
});
텍스쳐 이미지 넣기
원하는 이미지를 다운 받은 다음에 아래와 같이 이미지를 로드해주어야 사용할 수 있다.
const textureLoader = new THREE.TextureLoader();
const texture = textureLoader.load('/texture/brick/Brick_Wall_019_basecolor.jpg');
그러나 파일 경로에서 에러가 난다...

이는 웹팩 설정에서 해당 이미지가 들어있는 폴더가 정의되어 있지 않기 때문이다. 때문에 아래와 같이 정의해주면 에러가 나지 않는다.
(웹팩을 사용하는 환경에서만 발생하는 에러이다. 즉, 웹팩에서 발생하는 에러이다.)
new CopyWebpackPlugin({
    patterns: [
        { from: "./src/main.css", to: "./main.css" },
        { from: "./src/textures", to: "./textures" },
    ],
})
이때 설정이 변경되었기 때문에 반드시 서버를 종료해줬다가 다시 실행해줘야 한다!
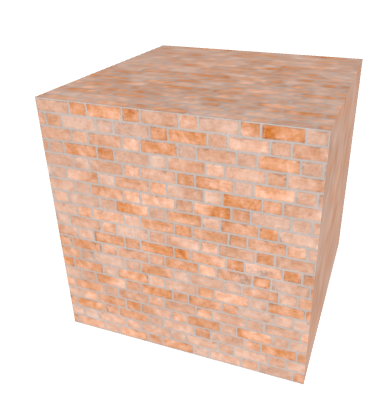
이제 이미지를 담고 있는 texture 변수를 material에 넣어주면 아래와 같은 결과가 나온다.
const material = new THREE.MeshStandardMaterial({
    map: texture
});
그렇가면 텍스쳐 이미지의 위치를 변경하고 싶을 때는 어떻게 할까?
texture.wrapS = THREE.RepeatWrapping; // 가로
texture.wrapT = THREE.RepeatWrapping; // 세로

// 위치
texture.offset.x = 0.3;
texture.offset.y = 0.3;

// 반복
texture.repeat.x = 2;
texture.repeat.y = 2;

// 회전
texture.rotation = THREE.MathUtils.degToRad(60);

// 이미지 기준을 가운데로 고정하기
texture.center.x = 0.5;
texture.center.y = 0.5;
Matcap (Material Capture)
matcap의 의미는 조명을 사용하지 않고도 조명을 받은 것처럼 효과를 낸다. matcap texture download 라고 구글링하면 다양한 이미지를 얻을 수 있다. 사용할 때는 이미지 파일을 로드해주고,
const textureLoader = new THREE.TextureLoader(loadingManager);
const matcapTexture = textureLoader.load('/textures/matcap/material3.jpg');
MeshMatcapMaterial 메서드에 전달하면 된다.
const material = new THREE.MeshMatcapMaterial({
    matcap: matcapTexture
})
Skybox & EnvMap
정육면체 전개도처럼 이미지를 전개도처럼 만들어서 배경과 그 배경이 물체에 비춰지는 듯하게 만드는 법에 대해 알아보도록 하겠다.
큐브형태이기 때문에 CubeTextureLoader를 사용하여 이미지를 로드할 것이다.
const cubeTextureLoader = new THREE.CubeTextureLoader();우선, mesh에 큐브 텍스쳐를 대입해보겠다.
const cubeTexture = cubeTextureLoader
.setPath('/textures/cubemap/')
.load([
    'px.png', 'nx.png',
    'py.png', 'ny.png',
    'pz.png', 'nz.png'
])
이때 주의할 점은 이미지의 순서가 있다! +, - 순으로 배치해야한다. p가 positive의 약자로 '+'이고, n이 nagative의 약자로 '-'를 가리킨다.
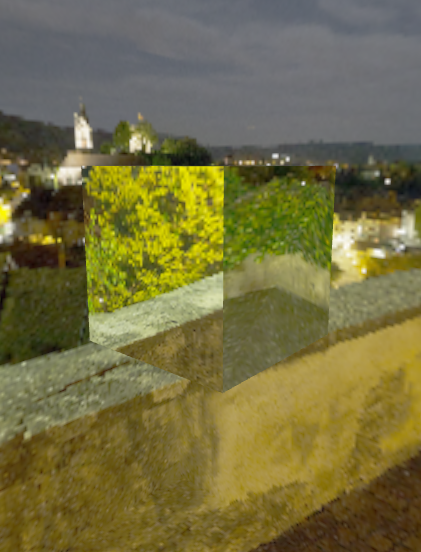
const material = new THREE.MeshBasicMaterial({
    envMap: cubeTexture
});
material에 전달하면 사진과 같이 된다. 배경 또한 만들어둔 cubeTexture를 전달하면 된다.
scene.background = cubeTexture
📜 출처